
Overview
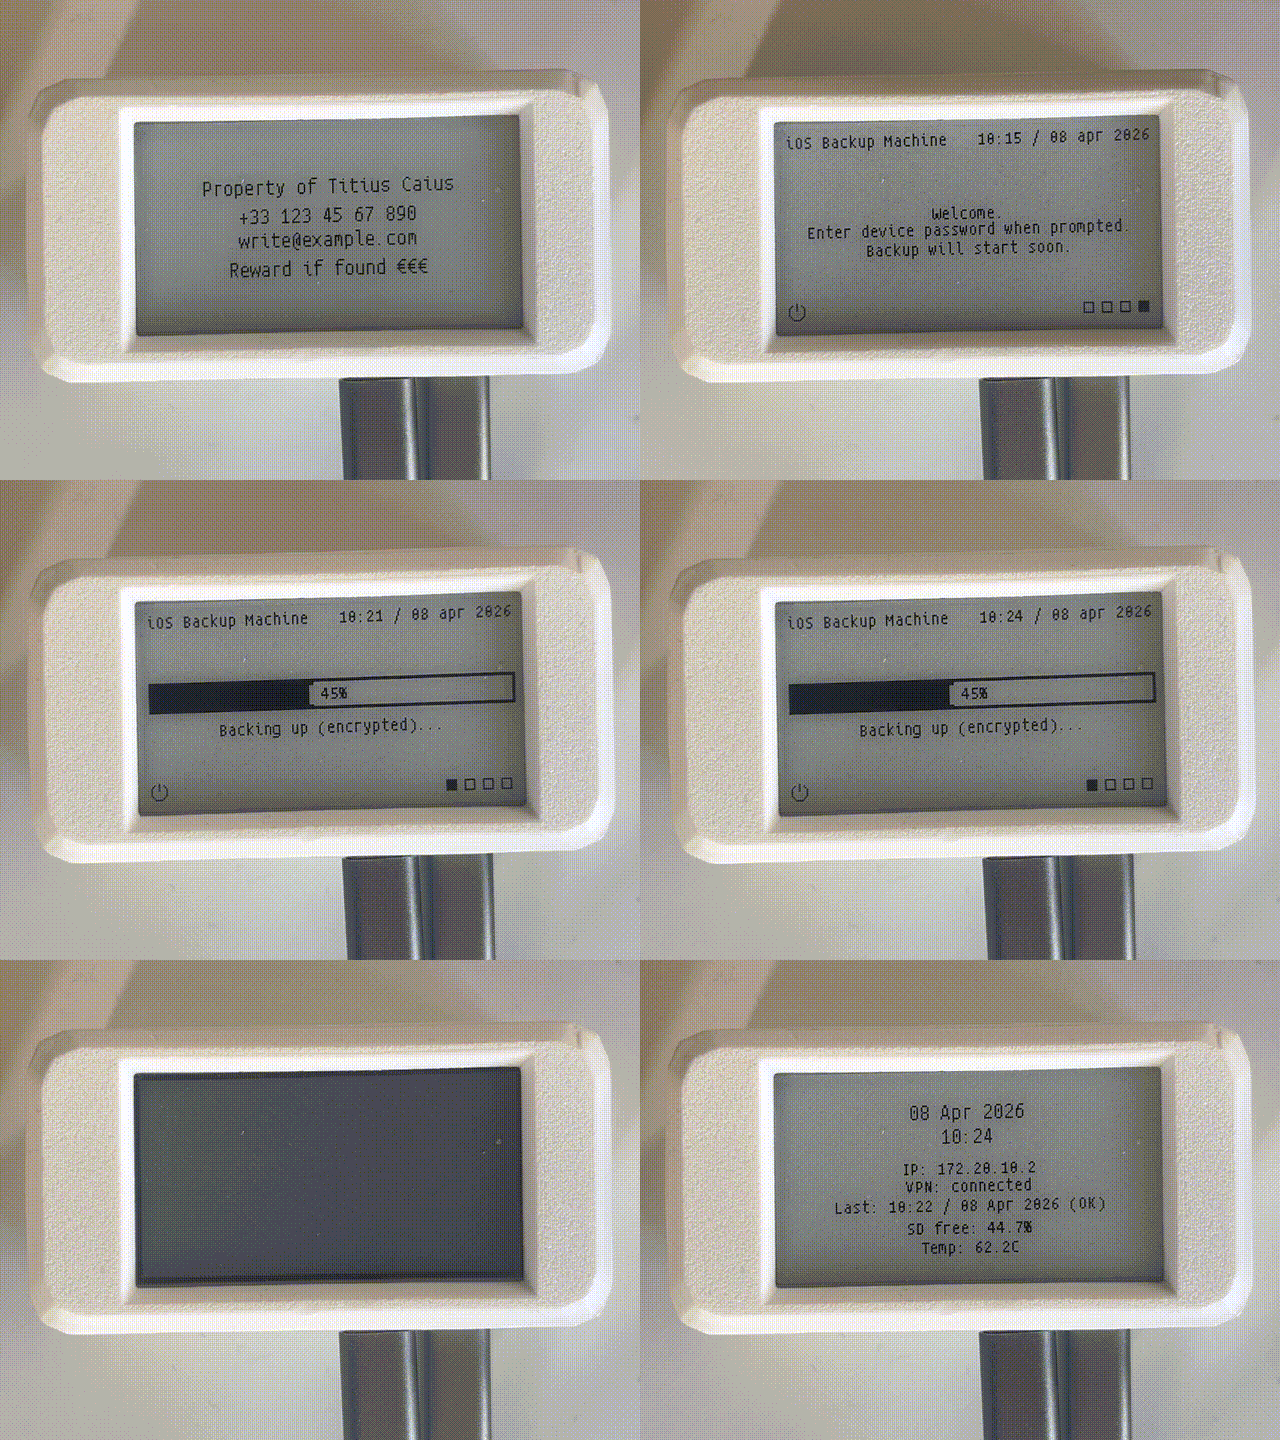
iOS Backup Machine is an offline, portable, automatic iPhone backup appliance that runs entirely on a Radxa Zero 3W (an upgraded Raspberry Pi Zero W). Plug in an iPhone and the device runs an encrypted idevicebackup2 backup to local storage, shows progress and messages on a 2.13” e-ink display, and logs all activity locally. No iCloud, no iTunes, you own your data.
Objective
Section titled “Objective”A self-contained iOS backup appliance with no reliance on Apple services or computers. All backups stay local on the microSD card and can be restored anytime using tools from libimobiledevice.
Key features
Section titled “Key features”- Fully automated: starts as soon as an iPhone is plugged in
- Live feedback: the e-ink display shows progress, status, and errors
- Secure: backups use the iPhone’s own encryption credentials
- Offline and independent: no Apple ID, no iTunes, no internet required
- Solid: file corruption is prevented by a small UPS
- Guarded runs: a backup is stopped and the reason reported when the backup drive disappears, the drive fills up, the battery drains, or the run hangs
- Quiet-device alert: one notification when no backup has succeeded for a week, since every other notification only fires when something happens
- Web UI: configure all settings from a browser, with a bounded log viewer and a systemd journal viewer for diagnosing a bad run
- Status icons: every e-ink screen shows power, VPN, internet, WiFi, and iPhone indicators at a glance, with a three-state iPhone icon (absent, plugged but untrusted, trusted)
- Multi-network WiFi: configure several networks (each with a nickname); the device roams to whichever is in range, managed through netplan and wpa_supplicant
- NTP sync: auto-syncs the clock when internet is available (WiFi or USB iPhone hotspot)
- Notifications: webhook and MQTT alerts for backup events
- Remote sync: rsync backups to a remote server over SSH (manual or auto after a backup)
- WireGuard VPN: built-in client with encrypted config, auto-connect on boot, WiFi, or iPhone, and an optional full-tunnel mode that keeps local SSH and web UI access
- Credential encryption: WireGuard, remote sync, and webhook auth credentials are encrypted with AES-256-GCM, using either the iPhone UDID (auto-decrypt when connected) or a custom password
- Network-aware sync: restrict remote sync to WiFi only, a specific SSID, or iPhone USB tethering
How normal operation works
Section titled “How normal operation works”- Turn on the device: press the PiSugar power button once, then keep it pressed until all LEDs light up
- Wait for the boot to complete (you will see a screen refresh)
- Plug in your iPhone and the backup starts automatically
- Follow the display, which prompts to unlock the phone if needed, shows encryption status, and shows the progress percentage
- At the end, the display shows a success confirmation and timestamp, plus owner info that persists on screen even after power off or power loss